USE CODE NEWSITE TO RECEIVE 5% OFF YOUR FIRST ORDER
We supply you with everything you need to install your graphics perfectly on the vehicle along with a scaled drawing to assist with positions.
•Soft flexible squeegee with felt edge
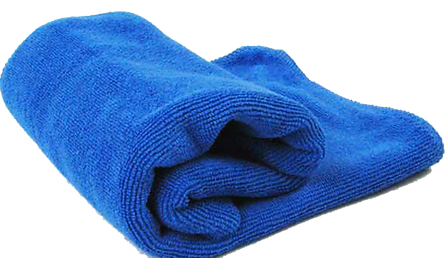
•Ultra soft microfibre cloth
•1L bottle of premium application fluid
Depending on your budget, you can choose between simple vinyl cut lettering, or more colourful printed graphics.
If you’re unsure of what you need, get in touch and we will advise on the best option for you.
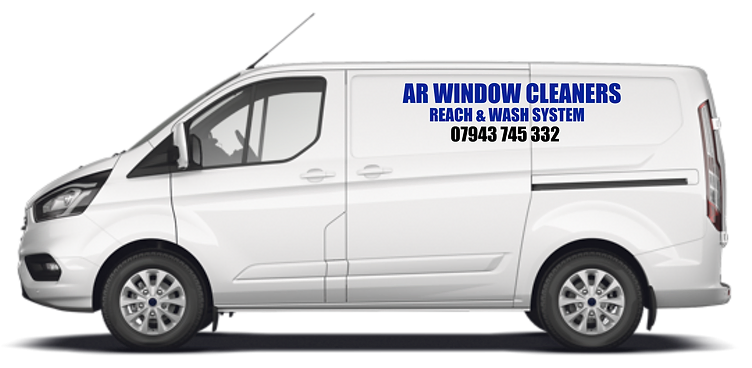
Simple but effective graphics cut from solid coloured vinyl. Accurate to the shape of your specific vehicle.
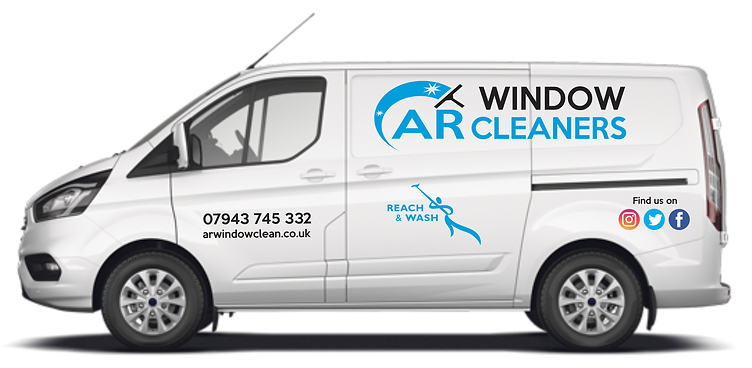
Digitally printed for custom colours photos. With this option, you can get logos, social media icons, and images in full colour.
Depending on your budget, you can choose between simple vinyl cut lettering, or more colourful printed graphics.
If you’re unsure of what you need, get in touch and we will advise on the best option for you.
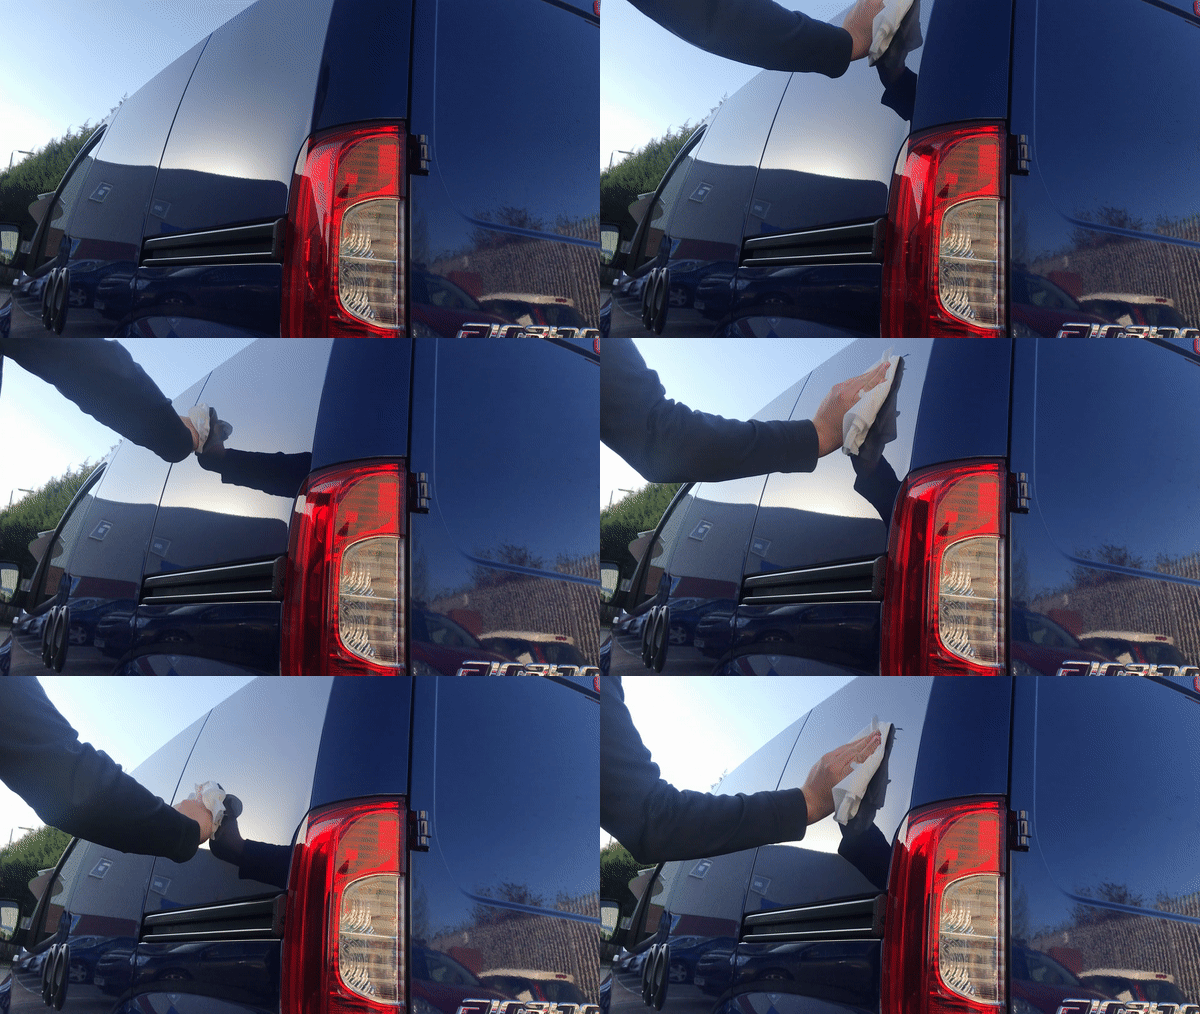
Clean the surface with soap and water making sure there is no grease or dirt. Methylated spirits may help if heavy glue residue is present
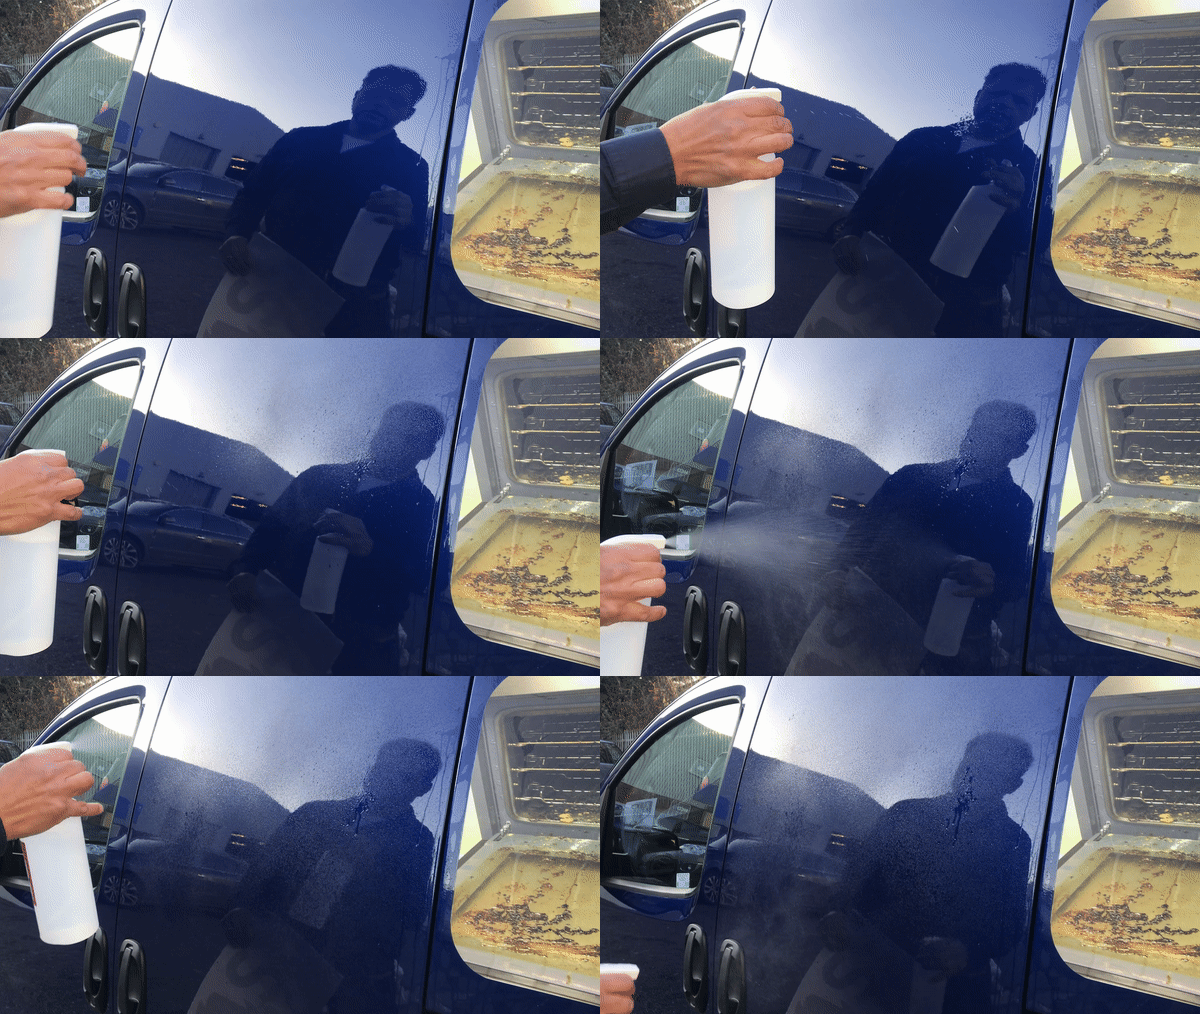
Next spray the area of the vehicle you wish to apply the graphics on using the application spray provided, please spray generously.

Now you need to place the piece of vinyl you wish to apply face down and slowly at a 45 degree angle, peel back the backing paper.
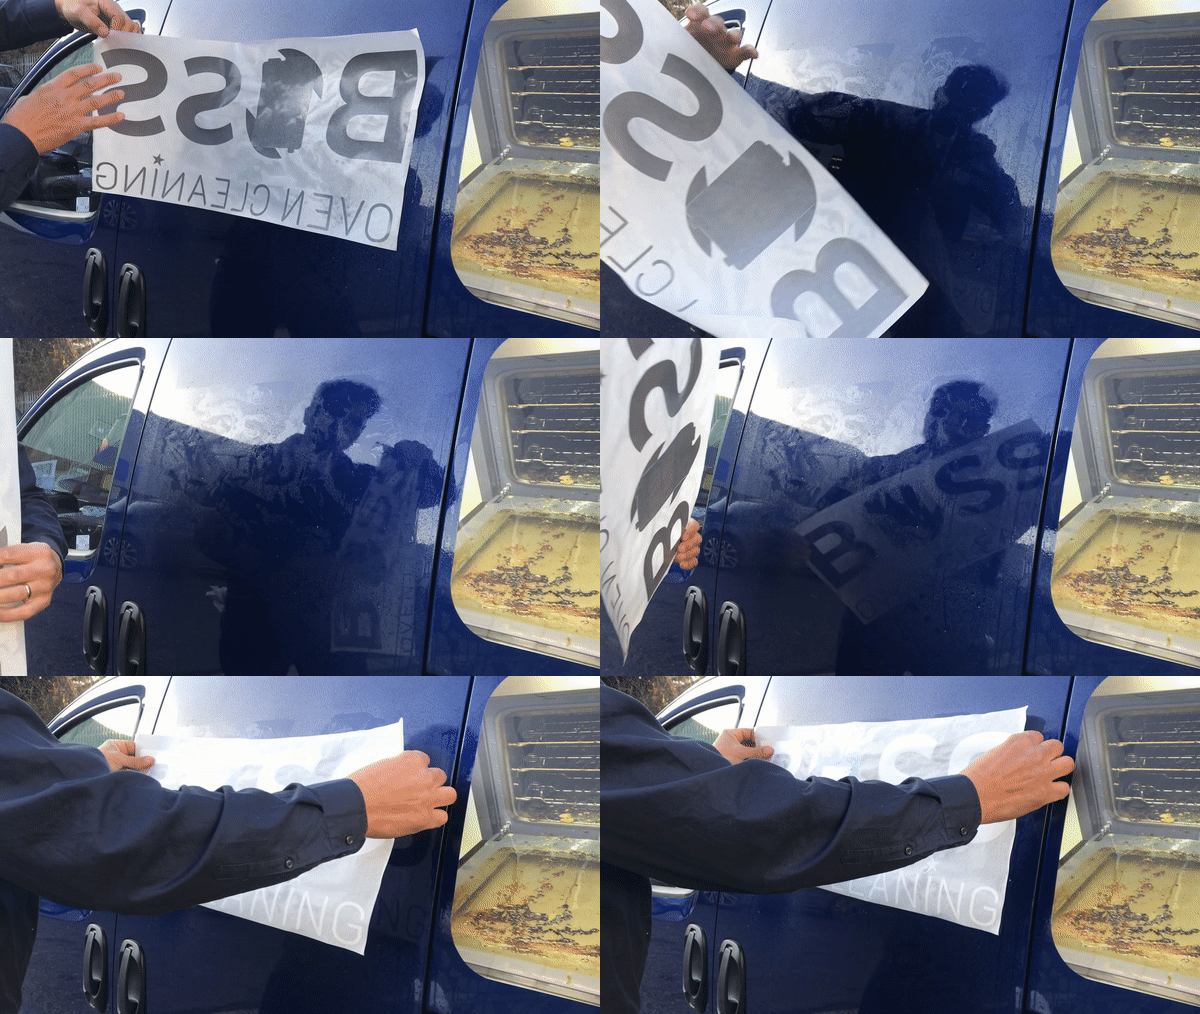
With the van thoroughly covered in application fluid, it is also advised you spray the sticky side of the vinyl. You can now turn over the graphic onto the van and move it around freely until you find that it is positioned correctly.

Now that the graphic is in the correct position, start from the middle and work your way out in a star shape. Make sure you don't have any creases and you have pushed all the application fluid out with the squeegee. Once you are finished you should go over the whole graphic again using adequate force.

Once everything has been thoroughly pressed down with the squeegee, please spray the rear of the application paper, this helps loosen the glue from the application paper, it is best advised to leave the vinyl for at least 30 mins, then slowly peel back the backing paper like pictured above very slowly revealing your new graphics.
Do you have a hands on approach, and want to save money instead of paying for a local sign writer?
If so, DIY van signs are great way to save money instead of paying for a local sign writer?

Why pay for someone to install graphics when you can easily do it yourself? With our DIY kits, you can save yourself the hassle of going to a local signwriter

All of our vinyl graphics comes with a free installation kit, including a squeegee, microfibre cloth, and application fluid that gives you more than one try

We supply you with professional grade vehicle vinyl. Your graphics will be fit the sizing of your car, van or truck perfectly. Before sending the vinyl, we'll show you what it will look like on your vehicle
Our DIY kits our easy to install on your vehicle as we provide everything you need. Usually it takes 45 minutes to 1 hour 30 minutes to install the graphics.
If you can, try to install the vehicle graphics under cover. If this isn’t possible, it’s best to fit them when it’s not raining or snowing heavily. This will allow you to see better during installation, and gives the vinyl time to dry properly.
With proper care and use, vehicle graphics last for about two years. The longer the vinyl is on your vehicle, the more strongly it will adhere to the paintwork.
Simply get in touch with us, show us a photo, and we’ll either show you how to fix the mistake, or if this isn’t possible we’ll send you a replacement in the post.
You can either remove the vinyl yourself or have a professional do it for you. Either way, the process is the same. Using a hairdryer or heat gun to warm up the vinyl makes it softer and easier to peel off. Then to remove the residue, you can use methylated spirits on the vehicle which won’t damage the paintwork.
Yes you can. To avoid scratching the vinyl, we recommend that you hand wash the vehicle rather than using an automatic car wash.
You don’t have to install the graphics straight away, however it’s best to do so within a month of receiving them.